
My friend Sarah grows $200 worth of fresh greens every month in the space of two shoe boxes. No soil. No outdoor garden. Just her kitchen counter and a few simple supplies.
She's growing microgreens, and once you see how ridiculously easy they are, you'll wonder why anyone bothers with expensive store-bought salad mixes. These tiny powerhouses pack 4-40 times more nutrients than their full-grown versions, and you can harvest them in as little as 7 days.
What Are Microgreens and Why Grow Them?
Read also
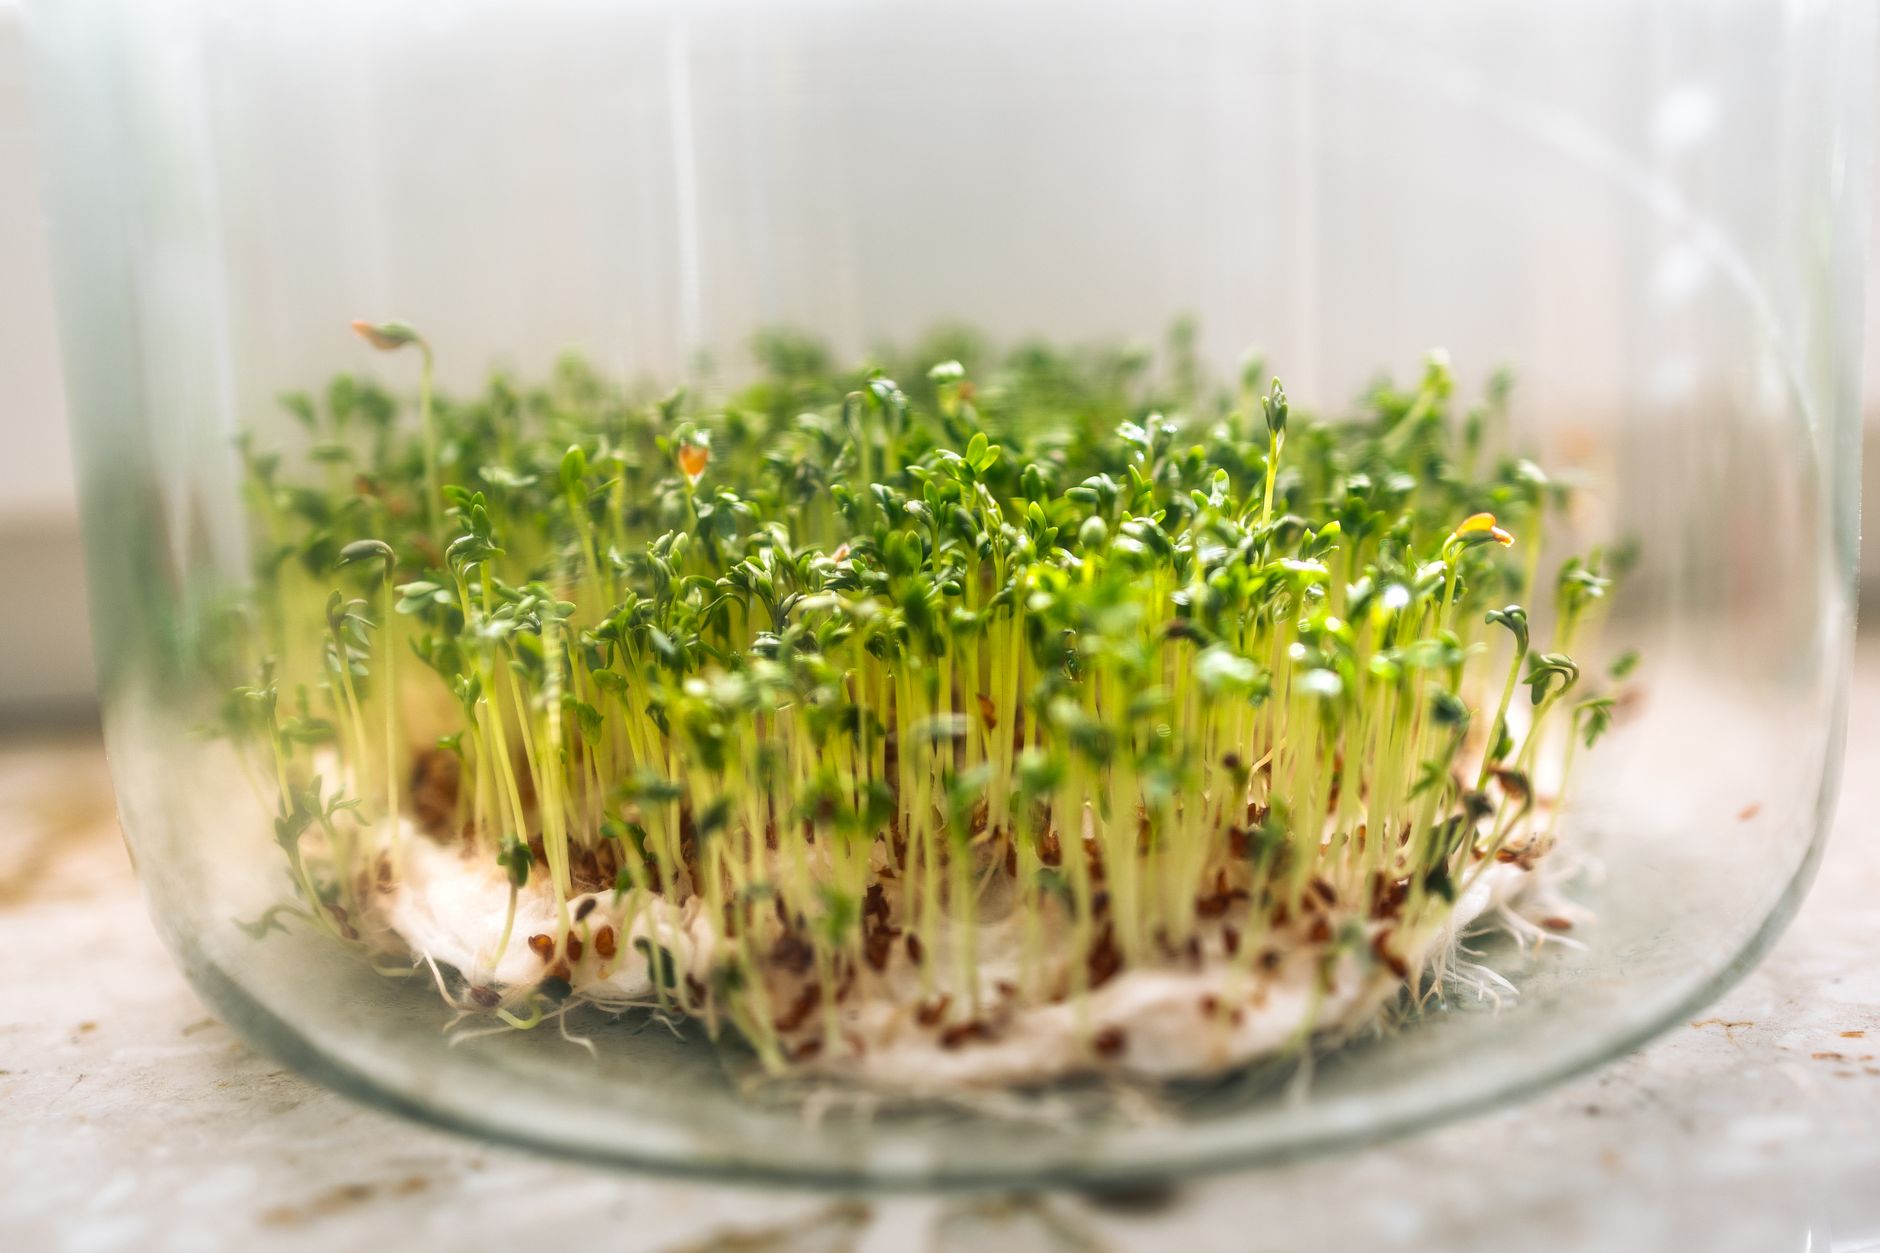
Microgreens are vegetable and herb seedlings harvested when they're 1-3 inches tall, right after their first true leaves appear. They're not sprouts (which have no leaves) and they're not baby greens (which are more mature). Think of them as the teenage version of vegetables.
The nutrition density is staggering. Red cabbage microgreens contain 40 times more vitamin E than mature cabbage. Cilantro microgreens have three times the beta-carotene of full-grown cilantro. Plus, they taste incredible. Radish microgreens deliver a peppery punch that makes store-bought arugula seem bland.
Best of all? They grow fast and take up almost no space. A 10x20 inch tray can yield enough microgreens for a family of four for a week.
Essential Supplies for Growing Microgreens
You don't need fancy equipment. I started with supplies from the hardware store and grocery store, and my first batch turned out great.
Here's what you need: shallow trays with drainage holes (seedling flats work well, or poke holes in aluminum pans), solid trays to catch water runoff, a spray bottle for gentle watering, and a growing medium. Skip regular potting soil—it's too heavy and rich. Coconut coir, vermiculite, or even paper towels work better.
Seeds matter more than fancy trays. Buy seeds specifically labeled for microgreens or sprouting. Regular garden seeds often have chemical treatments that aren't safe for such quick harvests. Good starter varieties include peas, sunflowers, radishes, and broccoli. They're forgiving and grow quickly.
Pro Tip
Start with pea shoots for your first batch. They're nearly impossible to mess up, grow fast, and taste sweet and crunchy. Kids love them too.
The Simple Growing Process
Growing microgreens follows a basic pattern: soak, plant, cover, uncover, harvest. Some seeds like peas and sunflowers benefit from 8-12 hours of soaking before planting. Smaller seeds like broccoli and radish can go straight into the tray.
Spread your growing medium about half an inch deep in your tray. Mist it until damp but not soggy. Scatter seeds densely across the surface—much denser than you'd plant in a garden. We're talking about a thick carpet of seeds.
Here's where microgreens differ from regular gardening: you want to create darkness for the first few days. Stack another tray on top or cover with a damp towel. This helps seeds germinate faster and makes stems stretch upward.
Check daily and mist lightly if the surface looks dry. After 3-5 days, you'll see pale, stretched seedlings pushing against the cover. Time to remove it and move your tray to bright, indirect light.
Light and Watering Requirements
Microgreens need bright light but not direct sun. A south-facing window works well, or you can use a simple LED grow light positioned 6-12 inches above your trays. I use a basic shop light with daylight bulbs—nothing fancy required.
Watering is where most people go wrong. Too much water creates mold problems. Too little and your greens get stunted. Water from the bottom when possible by pouring water into your catch tray and letting the growing medium wick it up. This keeps the surface drier and reduces mold risk.
If you must water from the top, use a spray bottle on the finest setting. You want the surface barely moist, not wet.
Harvesting and Storage
Most microgreens are ready to harvest 7-14 days after planting. You'll know they're ready when the first true leaves appear above the initial seed leaves (cotyledons). Cut them just above the growing medium with clean scissors or a sharp knife.
Harvest in the morning when the leaves are crisp and full of moisture. Cut only what you'll use within a few days. Fresh microgreens keep 5-7 days in the refrigerator stored in a container with a paper towel to absorb excess moisture.
Don't expect a second harvest from the same tray. Unlike lettuce, microgreens won't regrow after cutting. Compost the growing medium and roots, then start your next batch.
Troubleshooting Common Problems
Mold is the biggest challenge new growers face. It appears as white, fuzzy growth and usually means too much moisture and not enough air circulation. Prevent it by watering from below, ensuring good drainage, and not covering trays too long in the dark phase.
If your microgreens look pale and weak, they need more light. Leggy, stretched growth without good color indicates insufficient lighting. Move them closer to your light source or extend the lighting hours.
Slow or uneven germination usually points to old seeds or inconsistent moisture. Seeds lose viability over time, so buy fresh and store them in cool, dry conditions.
With a little practice, you'll be harvesting fresh, nutrient-dense greens year-round, no matter where you live or how much space you have. Your salads will never be boring again.


