
Most gardeners throw away thousands of seeds every fall without realizing it. Those dried-up bean pods on the vine, that tomato you left on the counter too long, the squash sitting in the wheelbarrow after the first frost — all of it is seed money. Literally. The varieties you loved most this year can come back next year for free, and the year after that, and the year after that.
Seed saving sounds like something your grandmother did. It is. But it's also something more and more home gardeners are coming back to, partly because seed prices have climbed, partly because some of the best open-pollinated varieties are getting harder to find at the garden center every spring.
Start With the Right Plants
Read also
Not every vegetable is worth saving seed from, and not every seed you save will grow true to the parent plant. This is the part that trips people up.
Hybrid varieties — anything labeled F1 on the seed packet — will not reliably reproduce themselves. The seeds may germinate, but the plants you get will be unpredictable. Some will revert toward one parent or the other, and you won't know which until midsummer when it's too late to do much about it.
Open-pollinated and heirloom varieties are what you want. If you grew Mortgage Lifter tomatoes, Dragon Tongue beans, Chioggia beets, or any variety that didn't have F1 on the label, you're in good shape. Beans and peas are some of the easiest seeds to save because they mostly self-pollinate before the flower even opens, which means cross-pollination between varieties is rare. Tomatoes are almost as straightforward. Squash, melons, and cucumbers cross-pollinate aggressively, so if you grew multiple varieties near each other, the seeds from those fruits may surprise you next year.

How to Actually Harvest Seeds Without Ruining Them
The timing matters more than most people expect. Seeds need to be fully mature — not just ripe enough to eat, but past that point.
For beans and peas: leave the pods on the plant until they've gone papery and dry. You should be able to shake them and hear the seeds rattling inside. If frost is coming before they get there, pull the whole plant and hang it upside down in a dry garage or shed. The seeds will finish maturing off the vine.
For tomatoes: choose your best-looking fruit from your healthiest plant. Let it ripen past the point where you'd eat it — slightly overripe is fine. Cut it open, scoop the seeds and gel into a small jar, add a bit of water, and leave it on the counter for two to four days. A layer of mold will form on top. This sounds alarming, but it's correct. That fermentation process breaks down the gel coating on the seeds, which can inhibit germination if left on. After a few days, add more water, stir, and pour off the pulp and mold. The viable seeds will sink to the bottom. Rinse them, spread them on a plate or piece of parchment, and let them dry completely.
Pro Tip
Pro Tip: Dry your seeds on parchment paper or a ceramic plate, not paper towels. Seeds stick to paper towels as they dry and you'll end up tearing them trying to get the seeds off. A ceramic plate lets them dry flat and lifts off cleanly.
For peppers: wait until the fruit turns its final color — red, orange, or yellow, depending on the variety — then let it sit another week or two on the plant if possible. The seeds inside will be more fully developed. Slice the pepper open, scrape the seeds out, and spread them on a dry surface for at least a week.
Drying Is the Step Most People Rush
This is where seed saving fails for a lot of people. Seeds that feel dry to the touch often still hold moisture in the center. Store them too soon and they'll mold in the envelope or lose viability before next spring.
Two weeks of drying time at room temperature, away from direct sun, is a reasonable minimum for most seeds. Spread them in a single layer. Stir or turn them every couple of days. If you want to test whether bean or pea seeds are truly dry, try to dent one with your fingernail. If it dents, it needs more time. If it's hard as a stone, it's ready.
Storage That Actually Keeps Seeds Alive
Small paper envelopes work well. Write the variety name, the date, and any notes you want to remember — how it tasted, how productive it was, whether it had any disease issues. Be specific. You will not remember any of this in March.
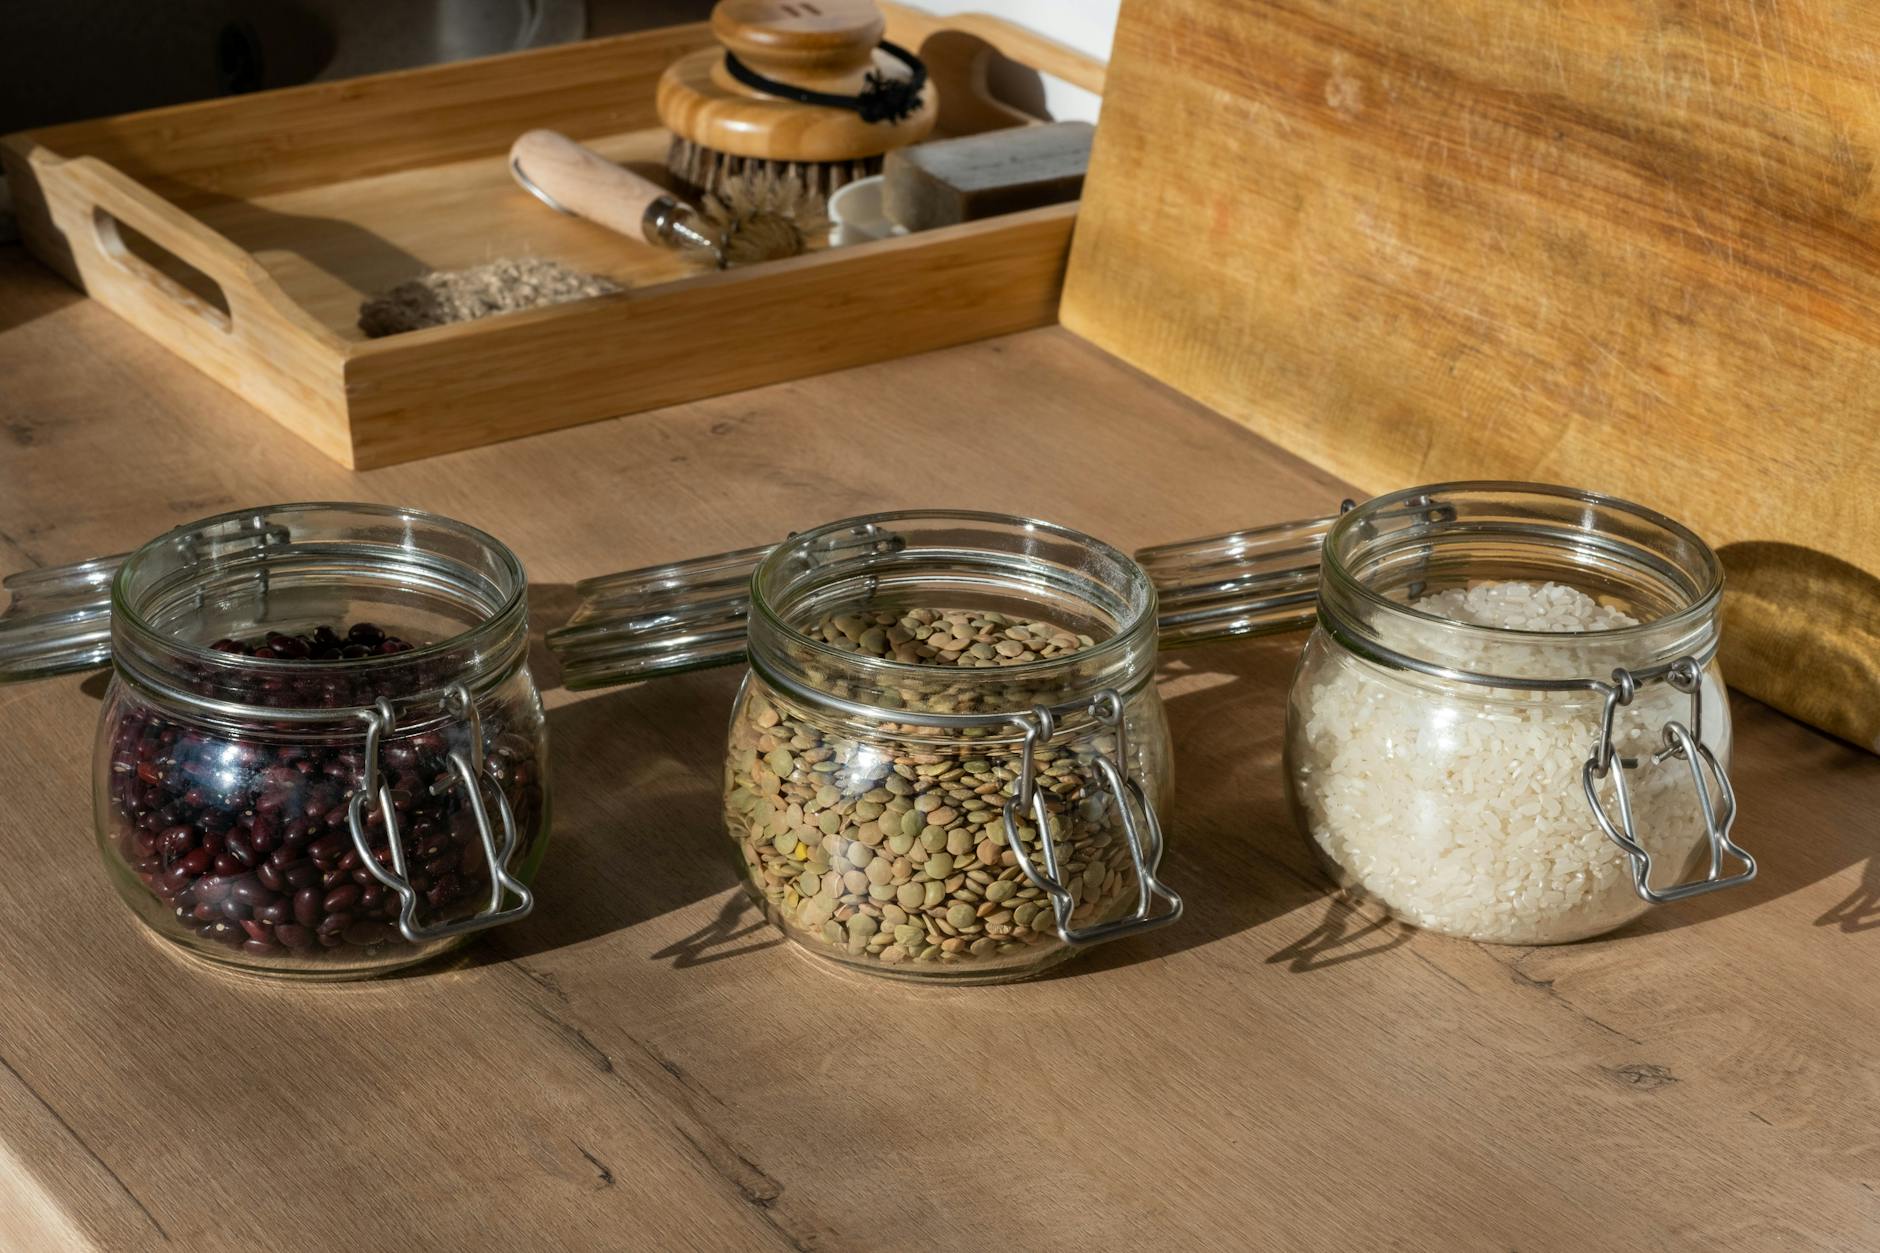
The enemies of stored seeds are heat, light, and moisture. A cool, dark, dry place is what you're after. Many gardeners store envelopes in a glass mason jar with a tight lid, which works better than a cardboard box because it keeps humidity out. Toss a small silica gel packet in the jar if you have one — the kind that comes in shoe boxes or vitamin bottles. It absorbs any residual moisture.
The refrigerator works if you're disciplined about sealing everything tightly and letting jars come to room temperature before you open them in spring. Condensation inside a cold jar can ruin a whole season's worth of seeds in minutes. Some people use a dedicated drawer or cool basement shelf and get equally good results without the refrigerator hassle.
What to Expect Next Spring
Most properly dried and stored seeds will last two to five years, though germination rates do drop over time. Onions and parsnips are exceptions — they lose viability fast and are worth saving fresh every year or just buying new. Tomatoes, beans, squash, and peppers hold up well for three or four years when stored correctly.
Do a quick germination test in February if you're not sure about older seeds. Put ten seeds on a damp paper towel, fold it over, seal it in a plastic bag, and leave it somewhere warm for the recommended germination time. Count how many sprout. If seven out of ten germinate, plant a little thicker than usual to compensate. If fewer than five sprout, buy fresh seed.
The best part of seed saving isn't the money, though that adds up fast. It's the continuity. You start to know a variety the way you know a reliable recipe — its habits, its strengths, its quirks. That knowledge compounds year over year, and it makes you a noticeably better grower without a single extra purchase.


